This is part 3 of this guide on how to paint the Fortified Manor, and this kind of scenery overall.
For this part we will look at how to paint the roof tiles.
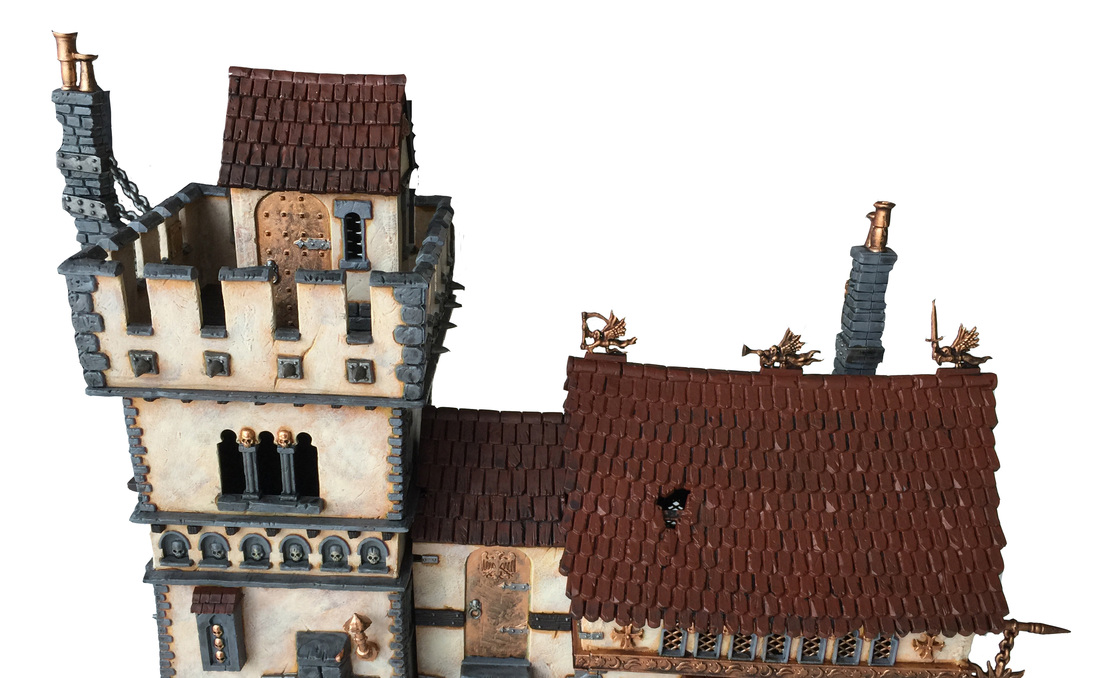
First, let's start with the roofs. The Games Workshop pictures often depict these as having blue tiles. In this case I wanted a more natural look, a more historical medieval look. That said, if you want the manor to look spookier, I think it'd be cool to go for purple/blue tiles and darker stone. In that case, I might've tried working up from dark grey instead of from yellow on the walls. So, let have a look at how to achieve this:
For this part we will look at how to paint the roof tiles.
First, let's start with the roofs. The Games Workshop pictures often depict these as having blue tiles. In this case I wanted a more natural look, a more historical medieval look. That said, if you want the manor to look spookier, I think it'd be cool to go for purple/blue tiles and darker stone. In that case, I might've tried working up from dark grey instead of from yellow on the walls. So, let have a look at how to achieve this:
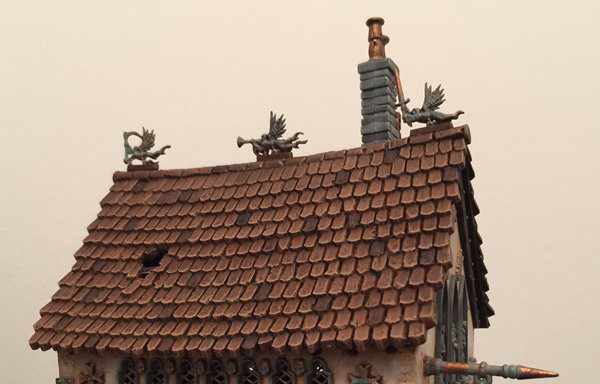
It looks a bit different depending on the light, doesn't it. The colors used for the roof tiles were:
 Doombull Brown |  Ushabti Bone |  Agrax Earthshade |
The process is fairly simple and somewhat similar to the way the stone parts were painted.
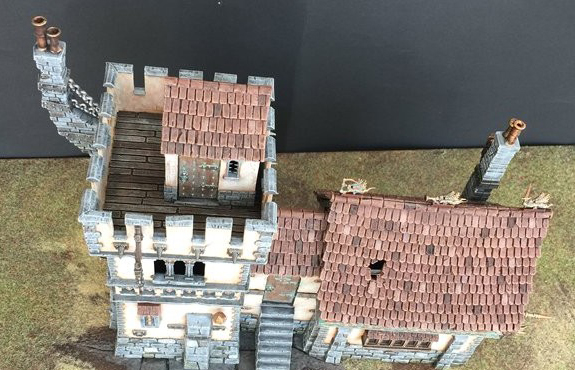
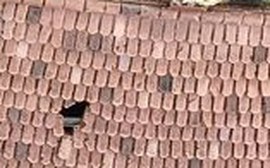
1 Base all roof tiles with Doombull Brown. Make sure you remember all the small roofs over some windows and alcoves if you have added those extra. See bottom left in the picture below for an example of one of those small roofs.
1 Base all roof tiles with Doombull Brown. Make sure you remember all the small roofs over some windows and alcoves if you have added those extra. See bottom left in the picture below for an example of one of those small roofs.
Base painting these is quite time consuming, but make sure you have a nice good coverage, without spoiling the little cracks and structure sculpted into the tiles.
2 Wash everything heavily with Agrax Earthshade. Slop it on there. You can use a lot of wash, and the darker the recesses between the tiles get, the better. The only thing you want to a be a little bit careful of at this stage is wash running down over the walls. That might look like rain spots though, so hey, maybe it'd look good...
3 Drybrush with a 50/50 mix of Doombull Brown and Ushabti Bone. Make sure the drybrush is really dry (and the tiles from the washing!) and go over the whole area twice. You want both edges but also the flat surfaces to catch a bit of color, a bit of structure.
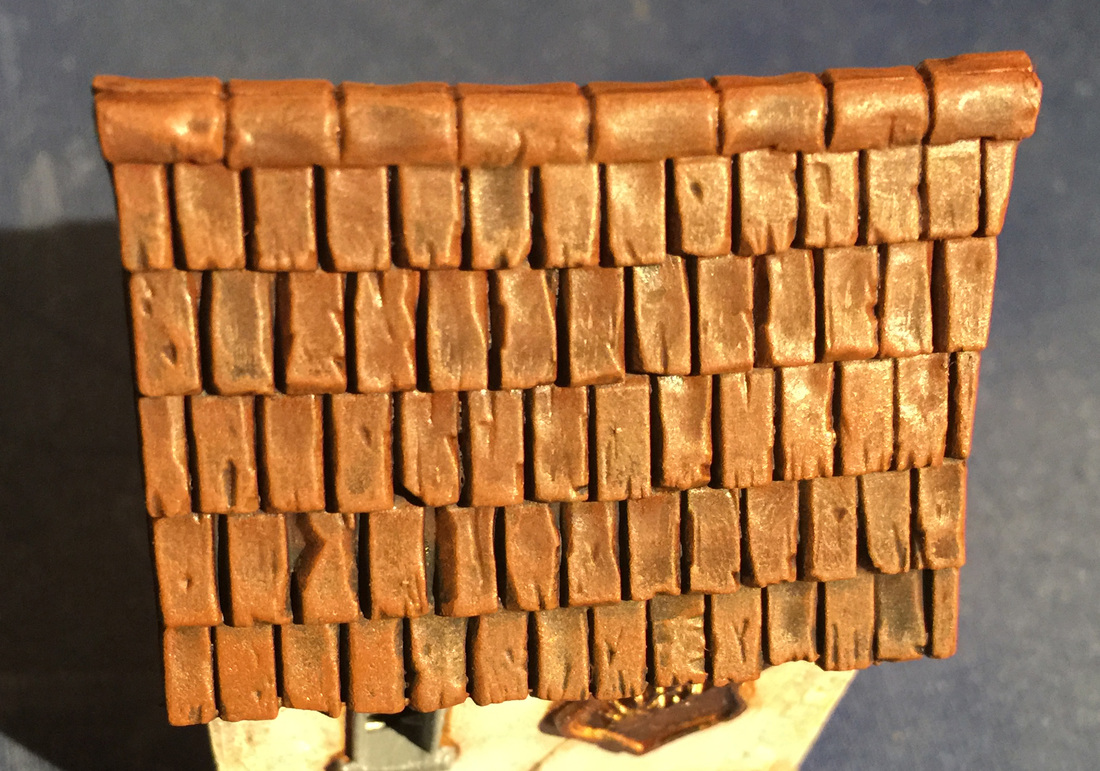
4 Drybrush with 25/75 of Doombull Brown and Ushabti Bone in the same manner as before, making sure you catch all the edges.
5 Drybrush carefully with 10/90 mix of Doombull Brown and Ushabti Bone. Also, at this stage, you want to select individual tiles and brush them a bit extra to make them lighter. This is the first step to achieve variation across the tiles.
5 Drybrush carefully with 10/90 mix of Doombull Brown and Ushabti Bone. Also, at this stage, you want to select individual tiles and brush them a bit extra to make them lighter. This is the first step to achieve variation across the tiles.
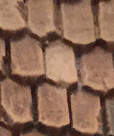
6 Wash selected tiles with Agrax Earthshade again. Vary the amount and number of times you wash these tiles and remember that variation is what you are looking for here. You can use other wash colors in addition to Agrax Earthshade, like Carroburg Crimson, if you wish.
Keep on washing and drybrushing until you are happy with the result. The next post will detail the wood and metallics and will be posted rather soon... base paint the wood with Rhinox Hide!
 RSS Feed
