In this part I will describe how I did the stone parts of the Fortified Manor. Part 1 describes how the walls were painted and can be found here.
These paints were used when painting the stone parts:
 Dawnstone |  Administratum Grey |  White Scar |  Nuln Oil |
 Agrax Earthshade |  Athonian Camoshade |  Seraphim Sepia |  Carroburg Crimson |
Using all the washes above are not necessary, but will add a bit of variety to the stones and the washes speed up the process. For me, speed is usually a prioritity, although you can save a bit of money by thinning paints or by mixing in a few other colors into the washes instead of using this many washes. But you do need Nuln Oil and Agrax Earthshade.
It would be an interesting choice to use black, blue and purple washes for this, but I feel that the red, brown and yellow tones tie nicely into the roof tiling. But those could also be painted dark grey or bluish, and you’d have a different feel to the piece. I digress…
So, step by step, this is how I painted the stones:
1, Base paint all the stones with Dawn Stone. This is the most time consuming step. Conceivably, you could start with a darker grey and drybrush a dawnstone layer, but I feel that dawnstone with nuln oil looks just as good, although a bit lighter (and is faster). Also, you could drybrush heavily instead of base painting the dawnstone layer, but in this specific case, I think that that would be too messy, since you do not want to ruin the nice walls. That said, even when base painting, be careful around the walls!
2, Apply a black wash. I use Nuln oil and apply it quite liberally. You do want to darken the stones and shade the cracks and crevices. Also, I also shaded the cracks between stones and other areas of the house.
3, Drybrush with Administratum Grey or a similar light grey. You really want to keep your brush dry for this and not use any excesses of color. Also, use a medium drybrush for a compromise between precision and speed. You can use a large one for the big stone walls if you want to save a bit of time, but be extra careful not to use too much paint then.
When doing this drybrush I use circular motions and lightly brush all over the stones. You want to work up something which resemble the texture a stone has. Similar to the plaster, I think several thin thin drybrushed layers achieve this effect pretty well.
As a general advice here, drybrush liberally but with a dry brush. In essence, drybrush widely and wildly, but rather a few thin layers than one messy layer. I hope that makes sense.
4, Drybrush with White Scar or a similar white color. This step is very similar to step 3, just do it a bit lighter and a bit more focus on the edges. You want to catch all the edges here, but also lightly brush the flat surfaces to create more depth.
5, Extra drybrush of white. To create variety, choose stones randomly and give them a bit of extra white drybrush. Make them lighter than the other stones. Again, very little paint on the brush.
6, Apply washes. This is a bit of a free form step. Now you want to apply washes to randomly selected stones to give them a bit of difference in sheen, color and darkness/lightness. When doing this I put a little pool of each wash on my palette like this:
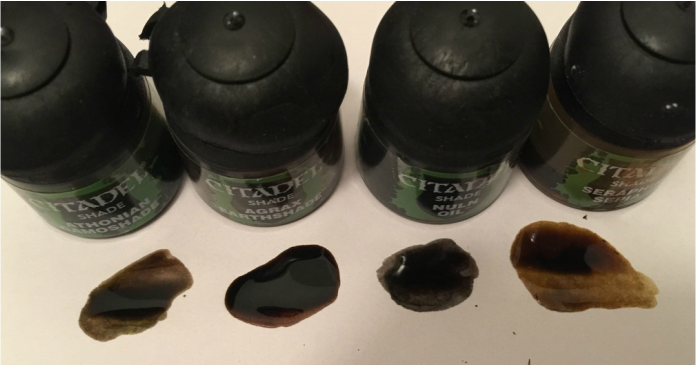
I then dip my wash brush in these washes pretty much at random, sometimes going all out with one wash, sometimes a combo of two or three. These various tones are then applied to random stones all over the stony areas. You do not want to wash every stone this way, but quite a few of them. Some I gave a light wash, and some several layers, to achieve variety in both color and darkness.
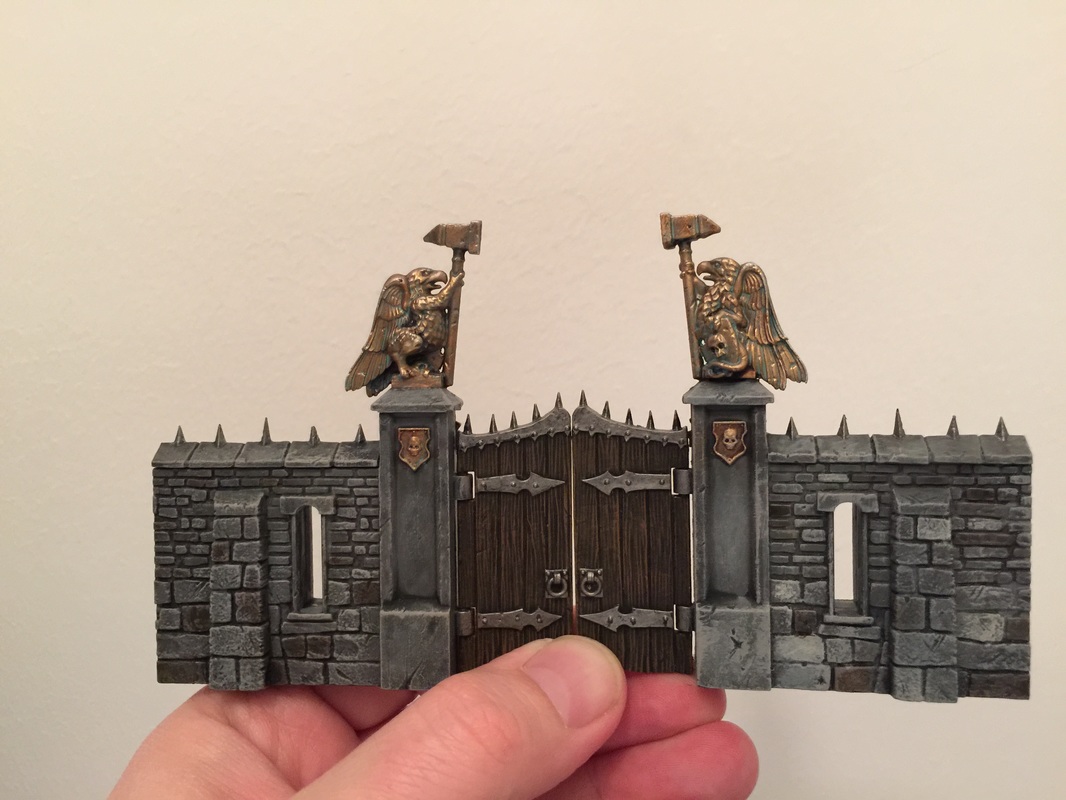
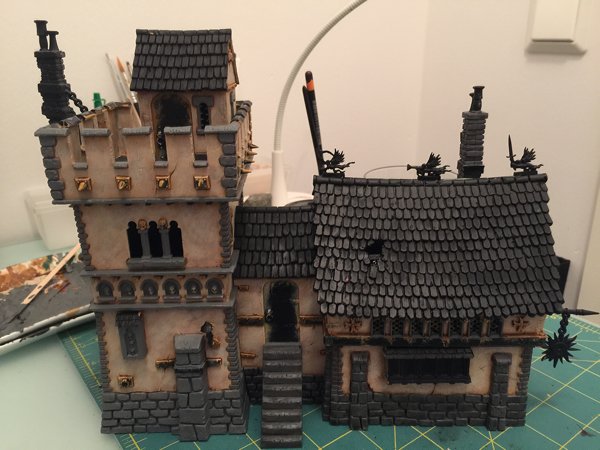
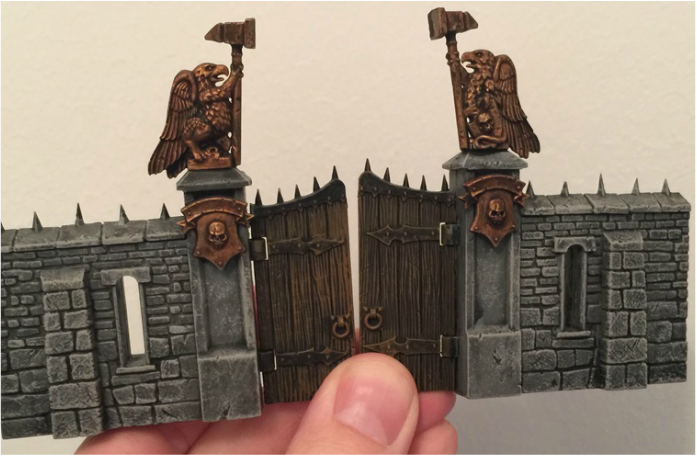
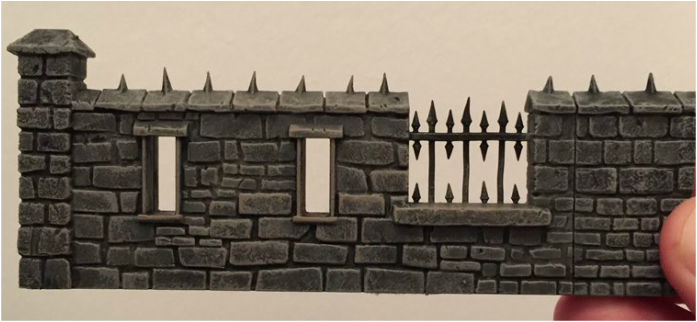
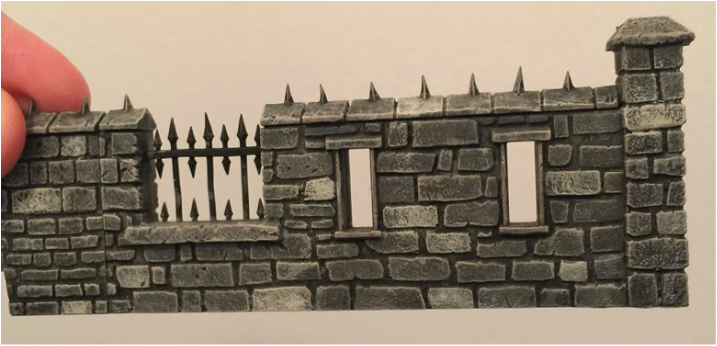
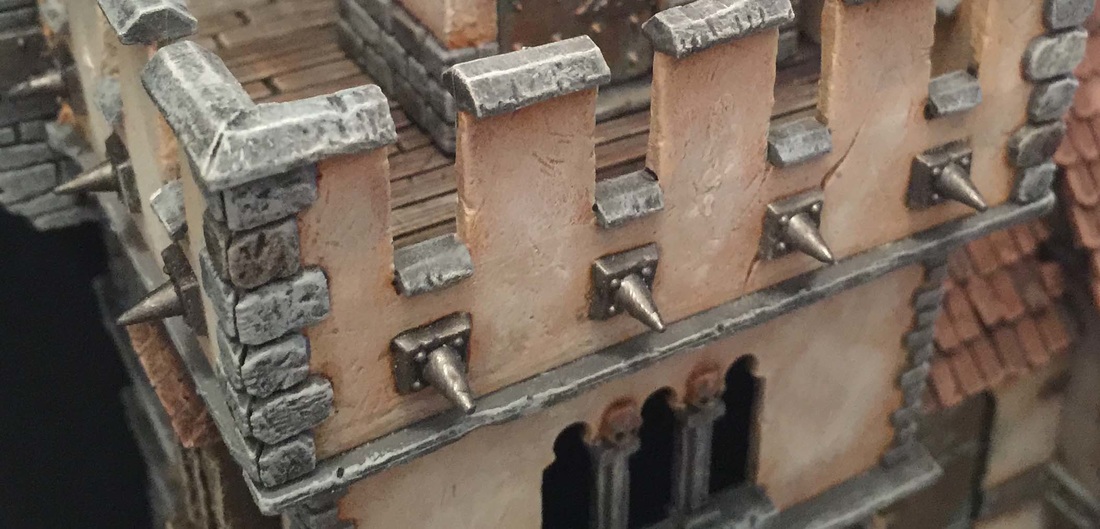
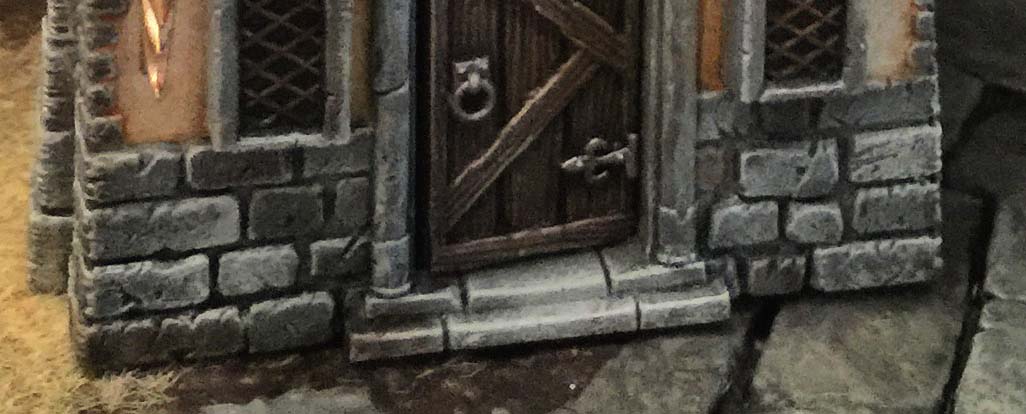
And that wraps this part of the guide up. At this stage you might want to base color all other parts of the buildings, as the coming parts are not quite as messy as the walls and the stones. Examples of finished stonework below:
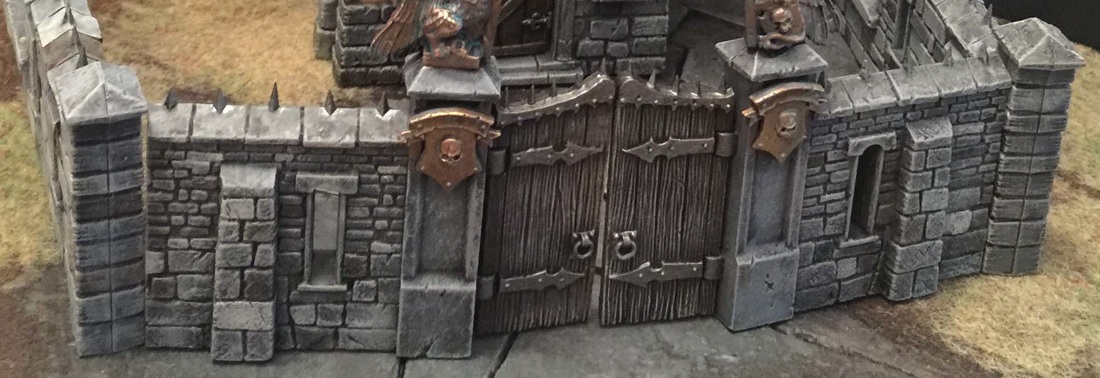
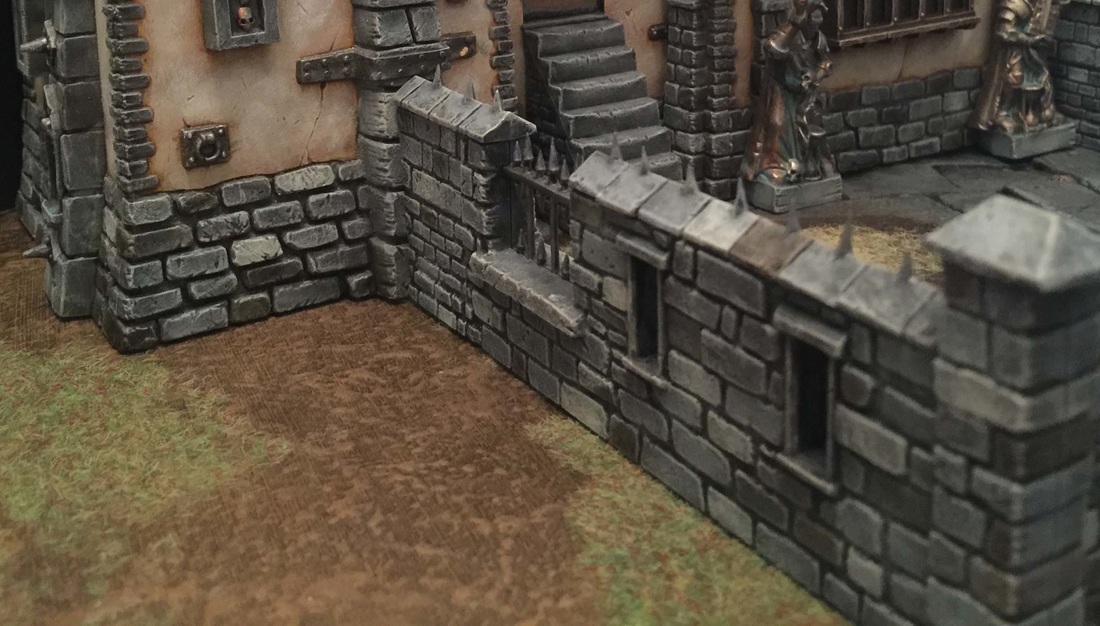
Next part will cover the metal parts as well as the roof tiles. Get your Doombull Brown ready for roof painting.. or well, paint the roofs with Doombull Brown already.
 RSS Feed
