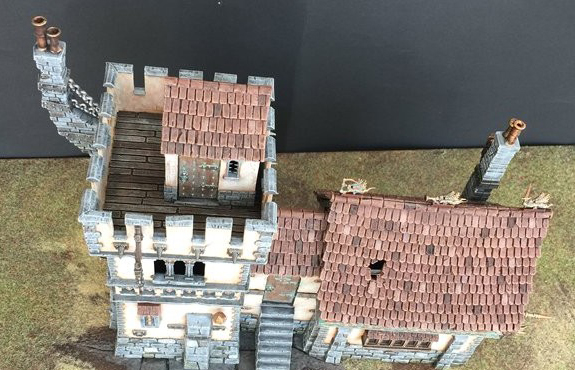
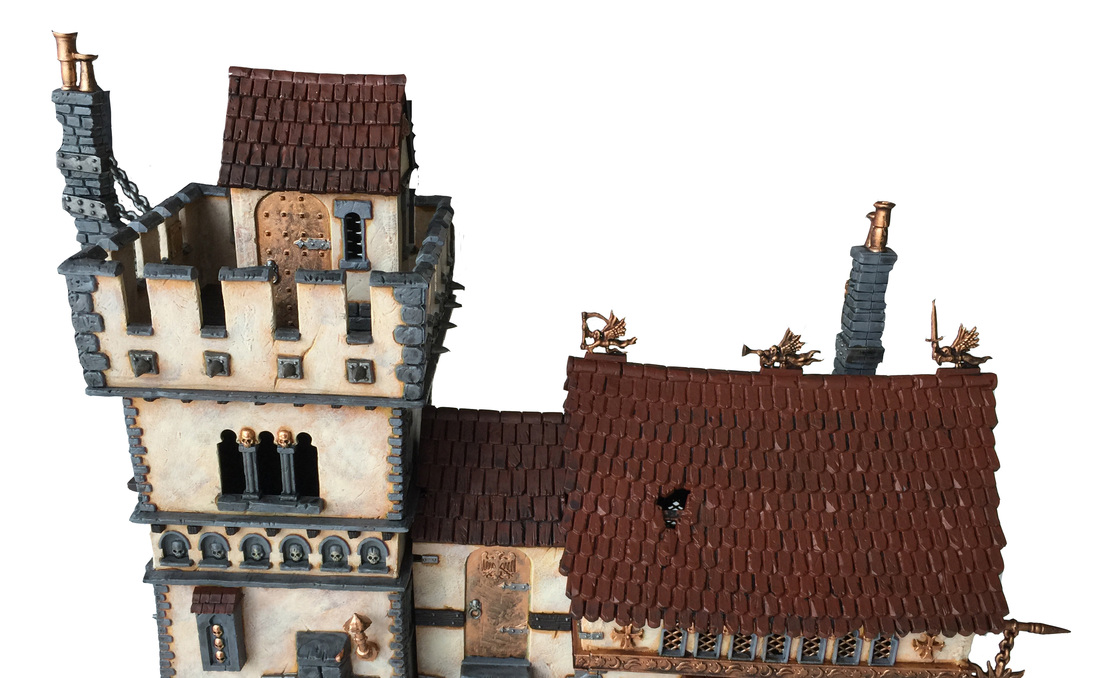
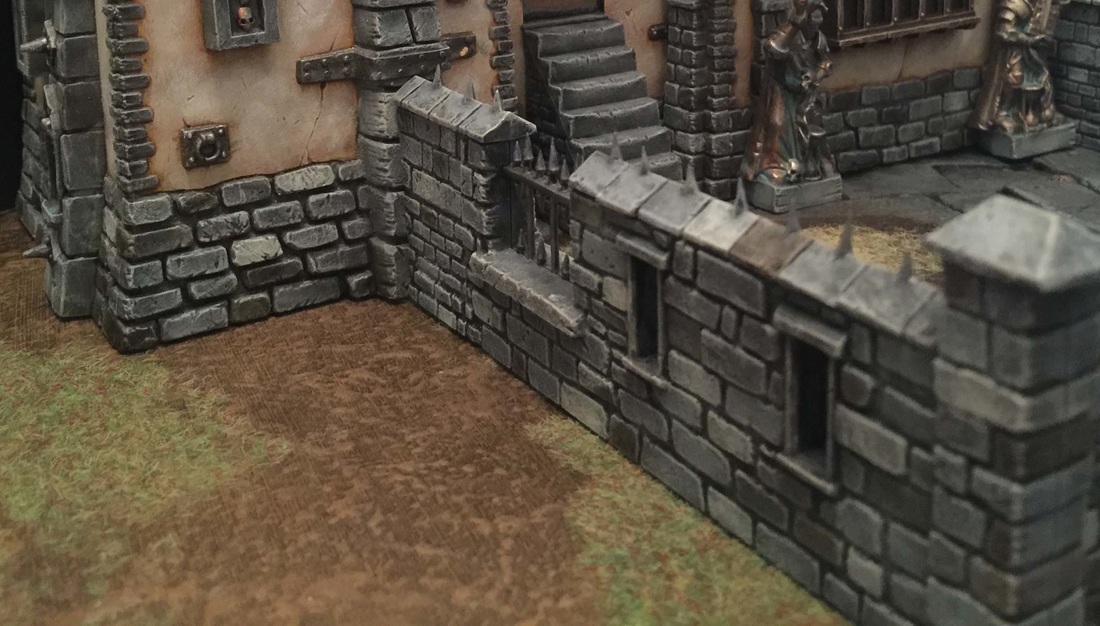
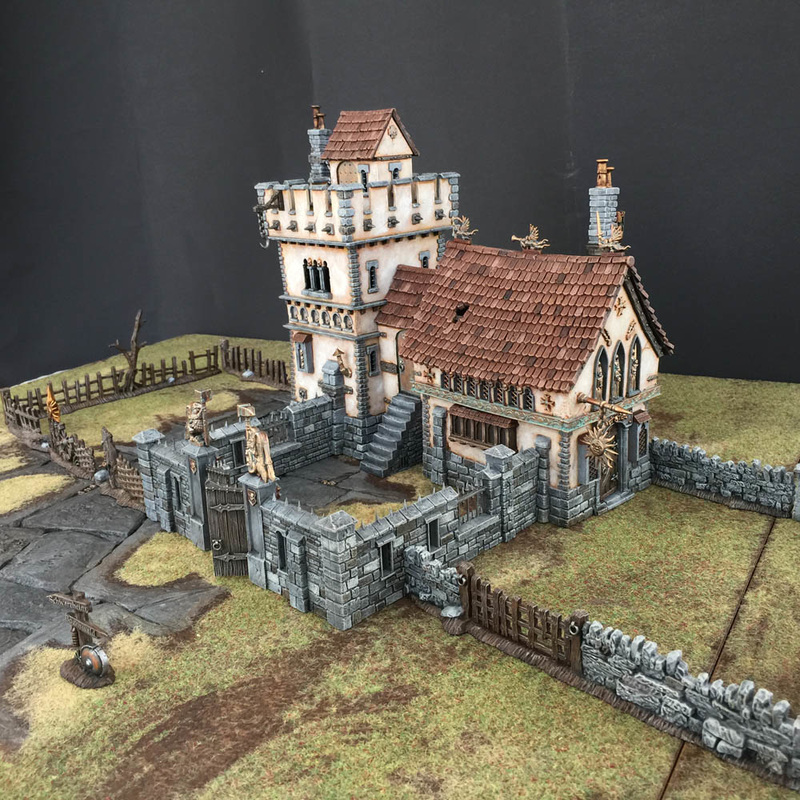
This is the final part of this guide on how to paint the Fortified Manor. It is also a guide on how to paint buildings in general and of course a guide on how to paint the Chapel and the Watchtower. With slight variations, it can be used for many other similar buildings as well. This part will detail how I painted the smaller areas on the buildings. These parts were done rather quickly, compared to the other parts of the buildings. What makes the building pop, I feel, is the walls combined with the roof tiles and stone.
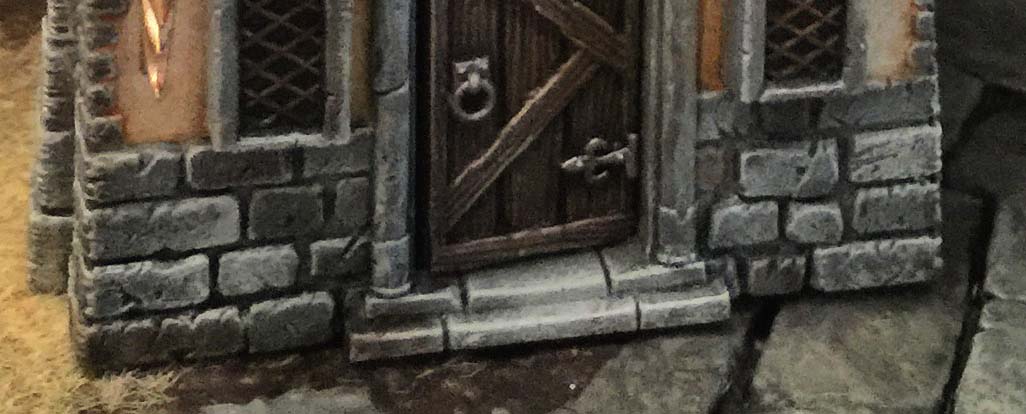
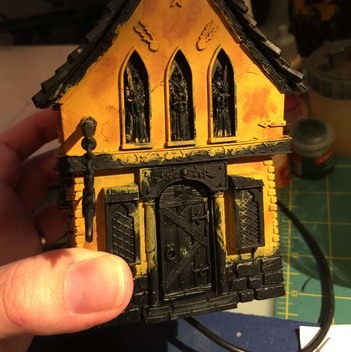
First, the wood parts. These were painted in a very simple way, which is probably familiar to most people. It is a process which looks like this:
First, the wood parts. These were painted in a very simple way, which is probably familiar to most people. It is a process which looks like this:
 Basecoat: Rhinox Hide |  Wash/Shade: Agrax Earthshade |  Drybrush: Mournfang Brown(GW)/Beasty Brown (Vallejo) |  Light Drybrush: Ushabti Bone |
The first drybrush of medium brown (Mournfang Brown or in my case Beasty Brown from Vallejo) can be quite heavy, while the second should be lighter and more aimed at the edges and lightly across the open areas to create a bit of texture. Do these drybrushing steps for the flat parts of the wood too, like the sides of the windows pictured below to the left. If done right, this "fakes" a bit of texture on these parts as well. Examples of finished wood parts:
 |  |
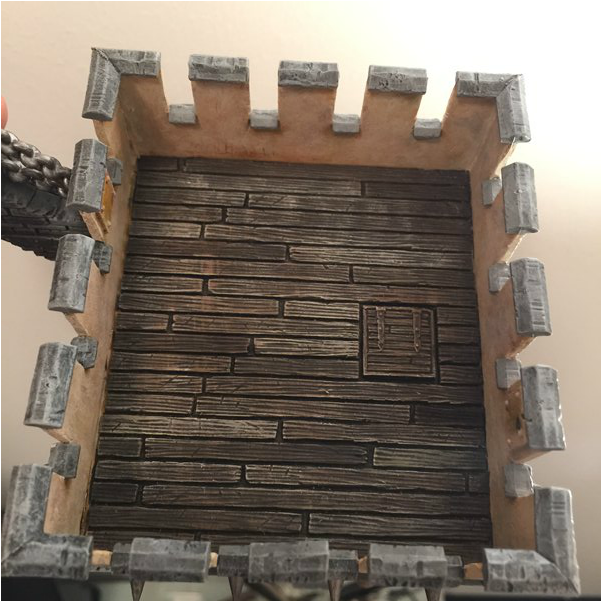
The flooring below deserve an extra mention. To make these boards look realistic, they need to differ from one another. No plank looks the same. For this purpose they were treated much like the stone parts in part 3 of this guide. Some of them were given an extra drybrush of ushabti bone to lighten them. Others were washed (after drybrushing) with agrax earthshade and some with athonian camoshade, in order to create different hues and levels of lightness.
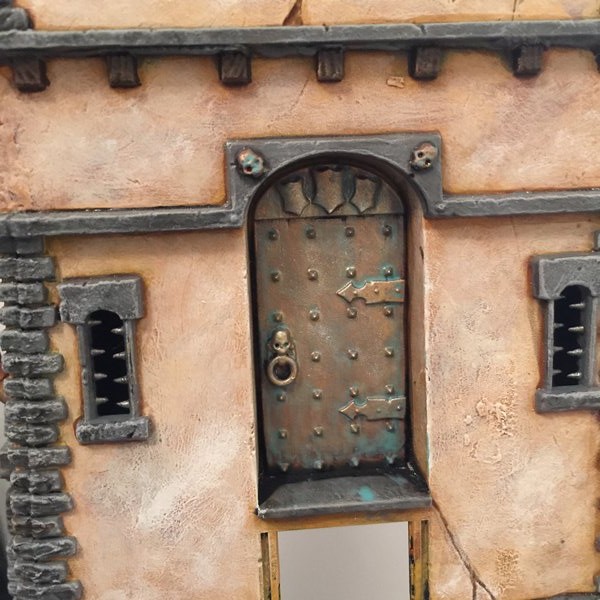
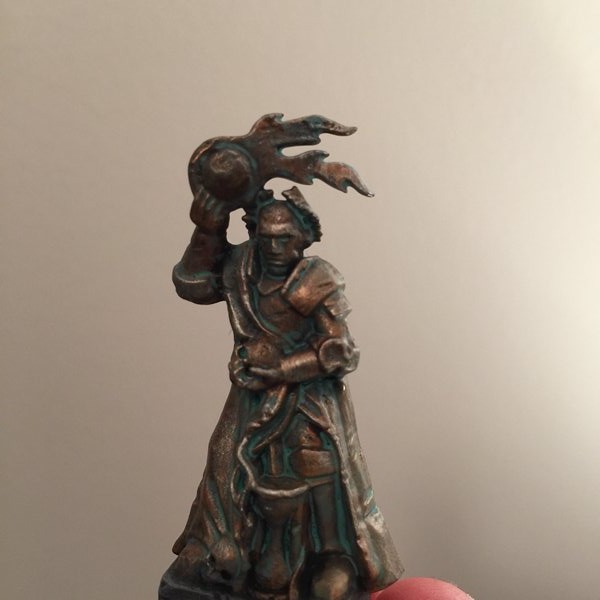
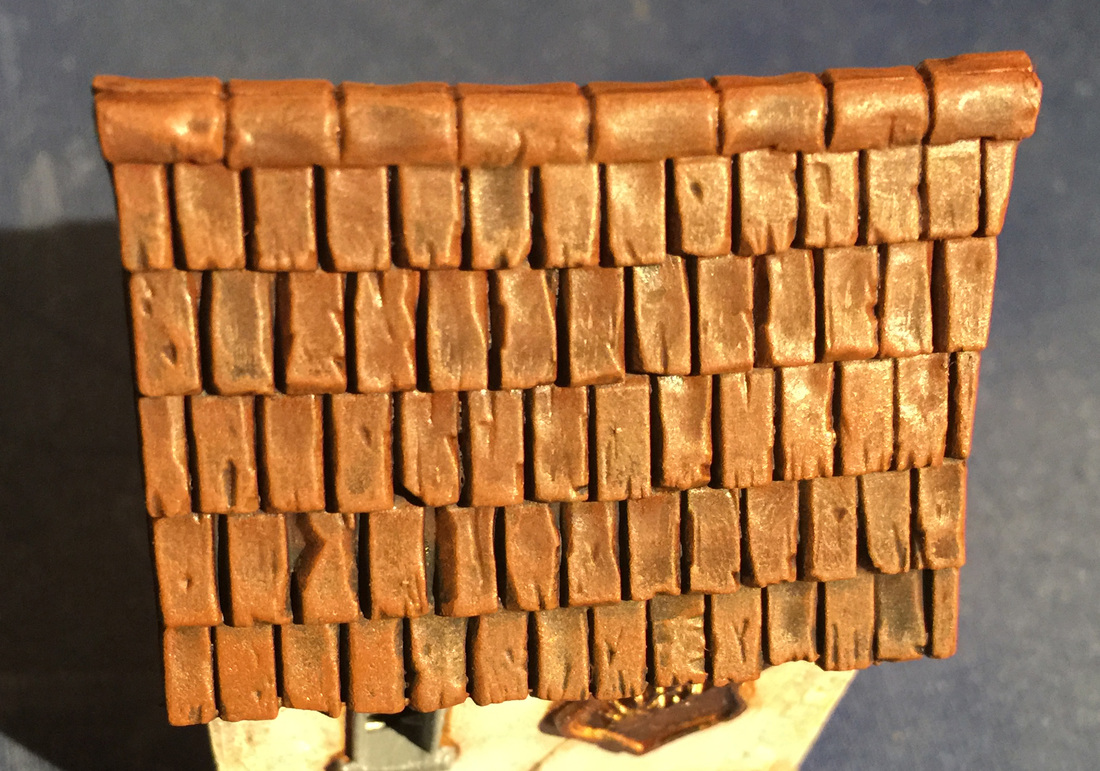
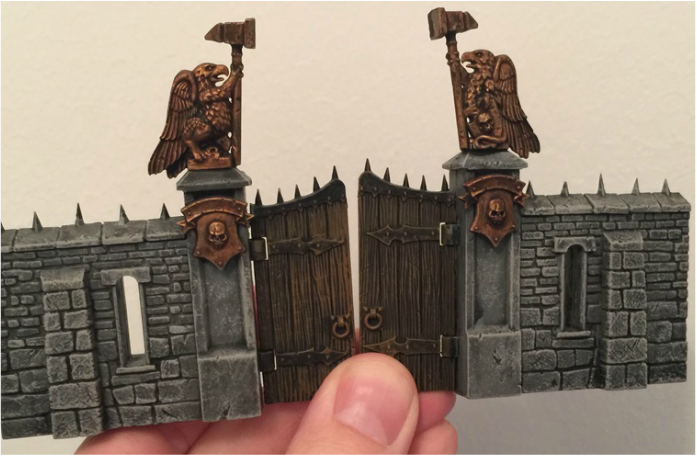
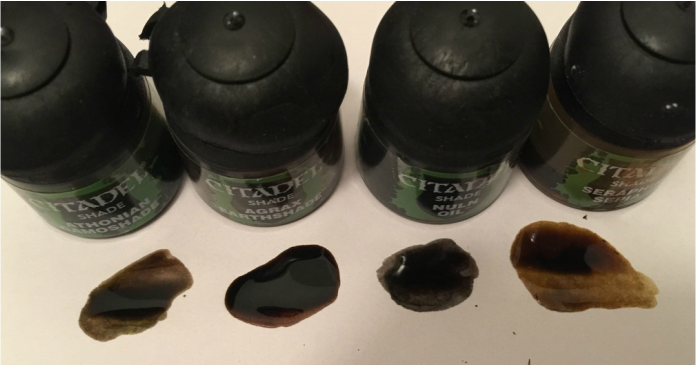
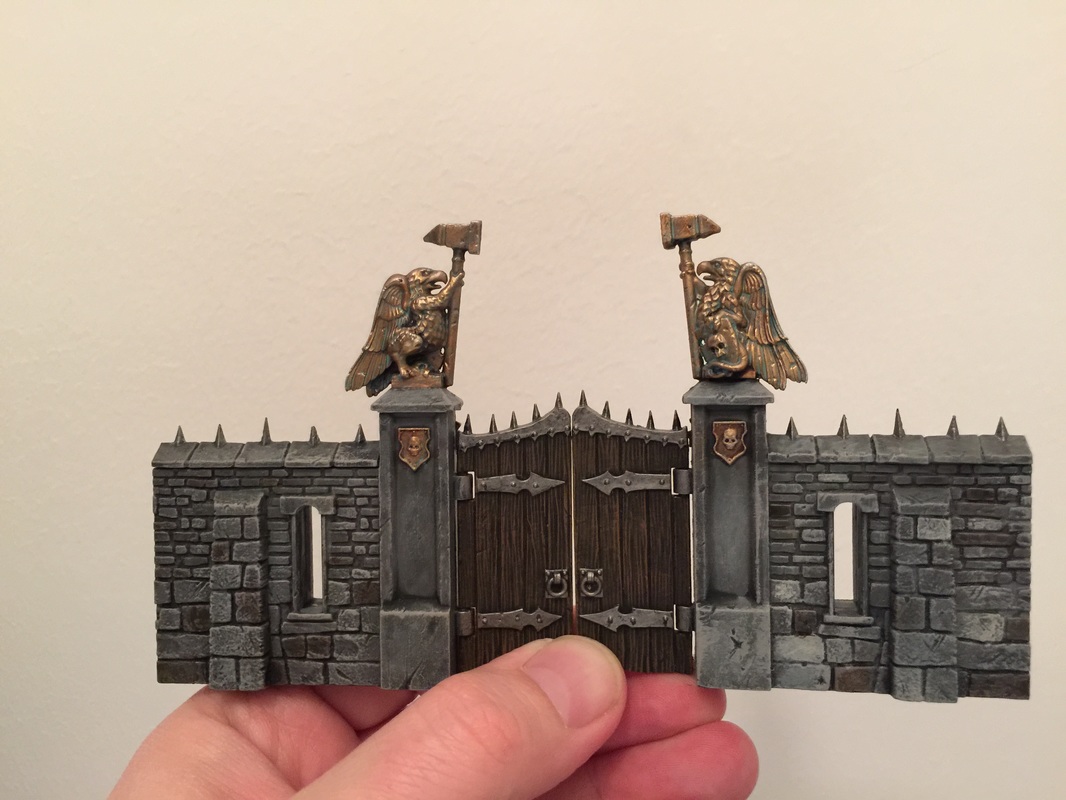
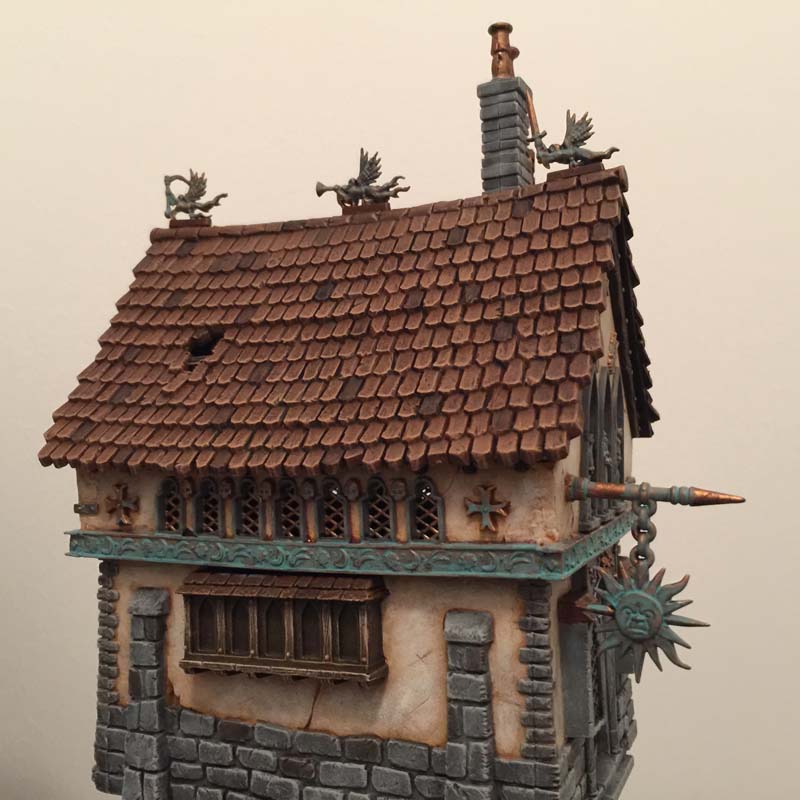
The bronze does deserve a guide in itself, and I wish I had taken more photos during this process. But alas, I will try to explain as well as I can. These colors were used:
 Hashut Copper (layer) |  Agrax Earthshade (wash) |  Nihilakh Oxide (technical) |  Ironbreaker/Chainmail (layer) |
The process is fairly simple:
1, Basecoat with Hashut Copper. This color does not cover very well and you will probably need to layers of basecoat. Don't be tempted to put on a very thick layer. Be patient and do two layers!
2, Wash heavily with Agrax Earthshade. Make sure the wash gets into all the recesses, especially on the statues. Make sure this is completely dry before moving on to the next step.
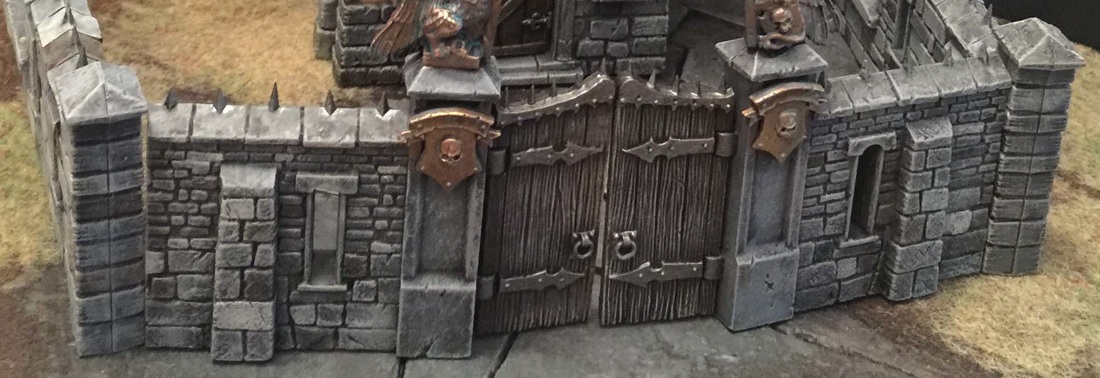
3, Apply Nihilakh Oxide. This paint is one of the technical paints that Games Workshop released about a year ago. They are all very useful and this particular paint makes for great verdigris effects with little effort. It is similar to a wash in consistency. Apply it in much the same way, but this time focus on areas where (rain) water would pool and run on the statues, doors, signs, etc. This is sometimes the reverse of the shadows, as some shadowed areas might be protected from rain, but generally this means recesses and deeper areas where water might gather. On the doors, this means around the little spikes and other details like that, and generally near the bottom. After applying, wipe of the excess with a paper towel. You can always apply another layer if you want more verdigris, just make sure you do not leave any right on the top of the statue for example.
4, Do a quick drybrush of Hashut Copper to bring out the base color and highlight areas which have been darkened by the wash. This can also fix some ill applied Nihilakh Oxide.
5, Drybrush and do some quick edge highlightning with Ironbreaker/Chainmail. Keep this very light and it will make the areas pop. For the doors, also do some very light brushing/stippling across the whole areas. This will look like weathering and create a bit of texture/structure to the bronze.
Examples of finished bronze parts:
1, Basecoat with Hashut Copper. This color does not cover very well and you will probably need to layers of basecoat. Don't be tempted to put on a very thick layer. Be patient and do two layers!
2, Wash heavily with Agrax Earthshade. Make sure the wash gets into all the recesses, especially on the statues. Make sure this is completely dry before moving on to the next step.
3, Apply Nihilakh Oxide. This paint is one of the technical paints that Games Workshop released about a year ago. They are all very useful and this particular paint makes for great verdigris effects with little effort. It is similar to a wash in consistency. Apply it in much the same way, but this time focus on areas where (rain) water would pool and run on the statues, doors, signs, etc. This is sometimes the reverse of the shadows, as some shadowed areas might be protected from rain, but generally this means recesses and deeper areas where water might gather. On the doors, this means around the little spikes and other details like that, and generally near the bottom. After applying, wipe of the excess with a paper towel. You can always apply another layer if you want more verdigris, just make sure you do not leave any right on the top of the statue for example.
4, Do a quick drybrush of Hashut Copper to bring out the base color and highlight areas which have been darkened by the wash. This can also fix some ill applied Nihilakh Oxide.
5, Drybrush and do some quick edge highlightning with Ironbreaker/Chainmail. Keep this very light and it will make the areas pop. For the doors, also do some very light brushing/stippling across the whole areas. This will look like weathering and create a bit of texture/structure to the bronze.
Examples of finished bronze parts:
 |  |
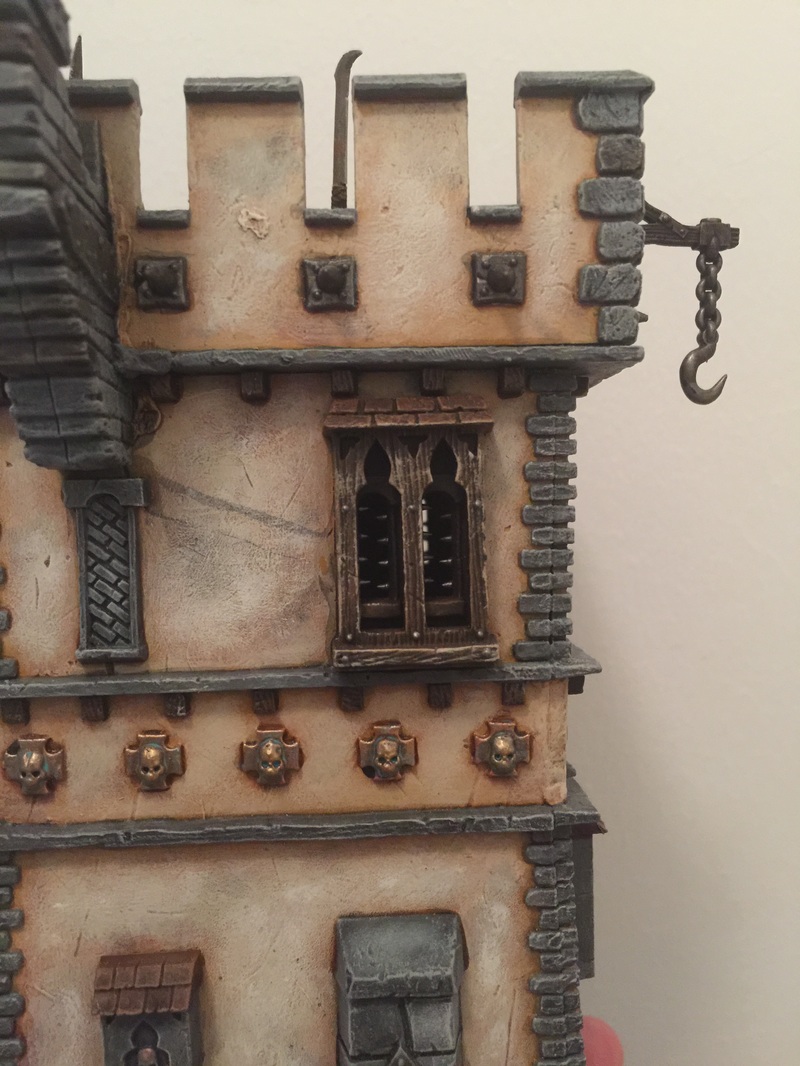
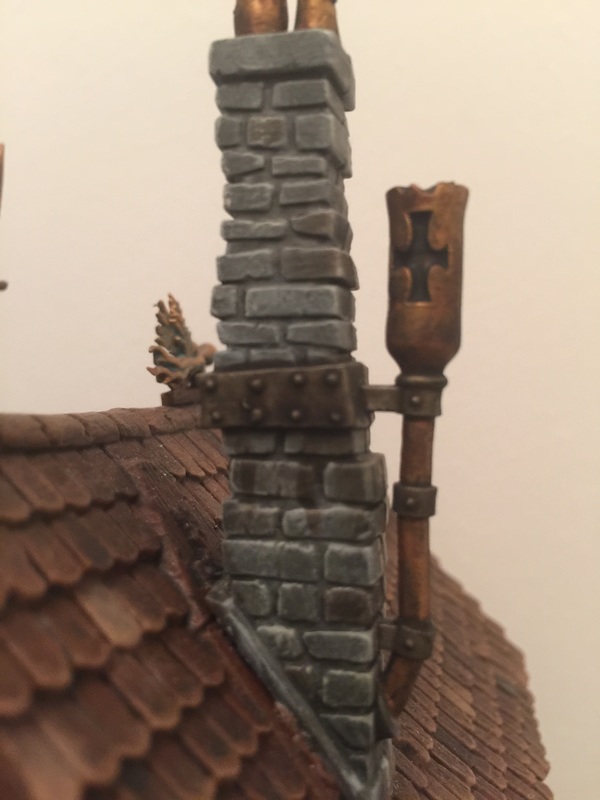
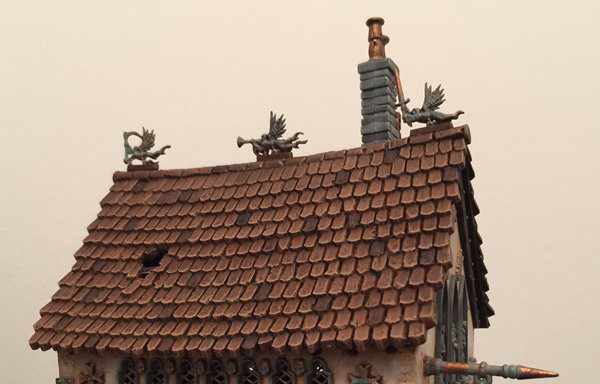
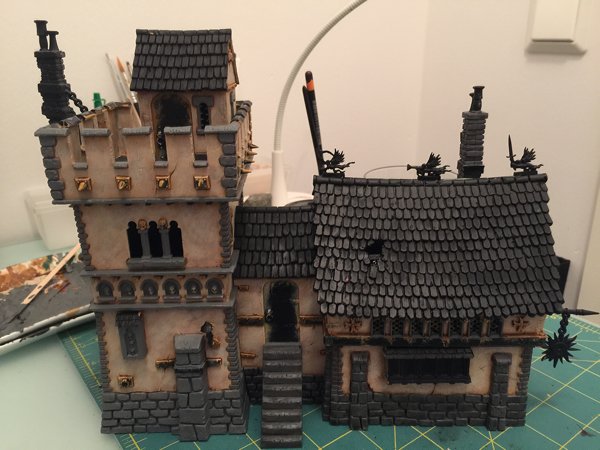
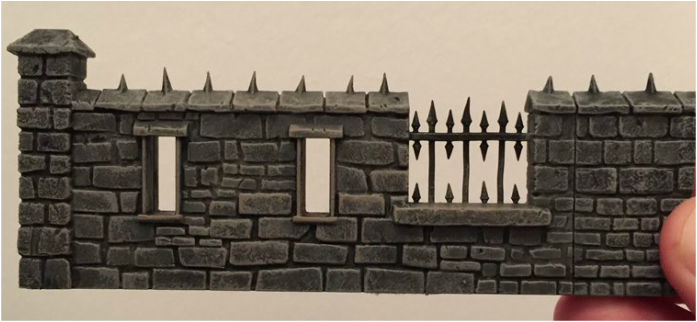
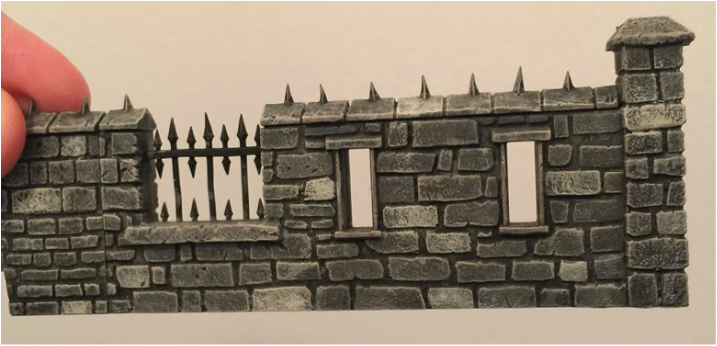
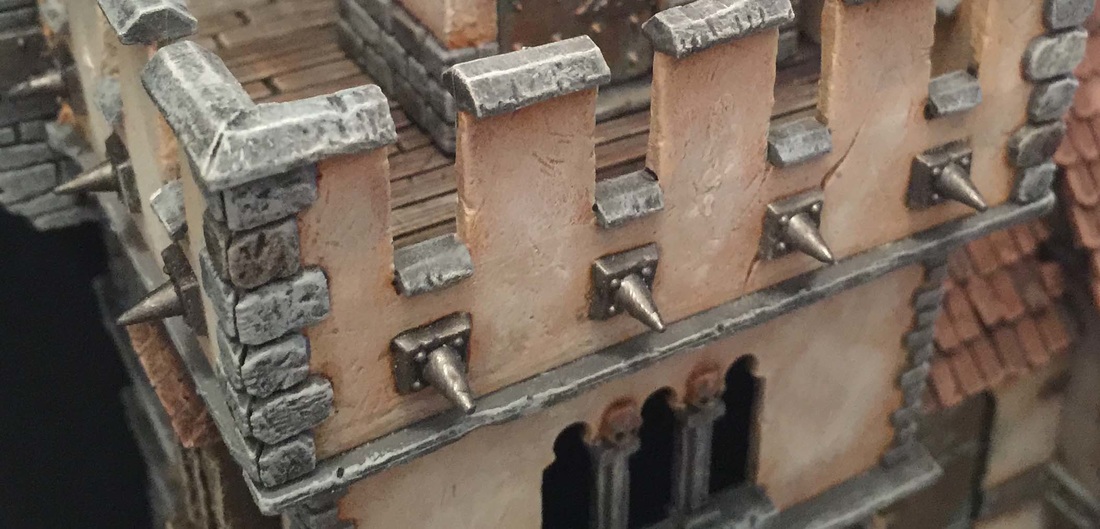
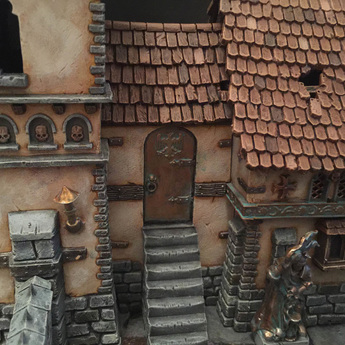
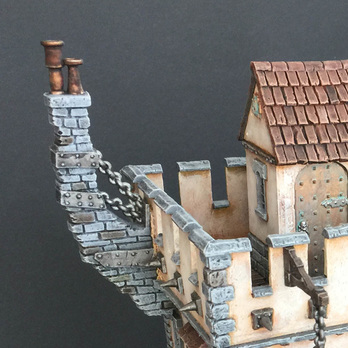
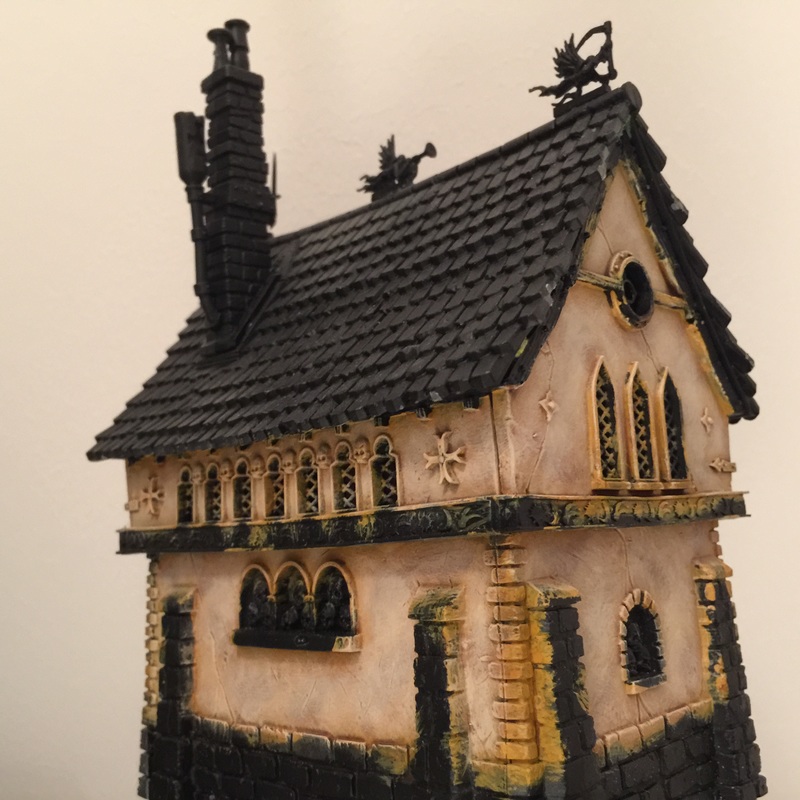
The other metal parts. There are quite a few metal parts on the houses. There are spikes, rivets, chimneys, pipes, etc. I decided to paint the pipes and chimneys in brass/bronze, but without verdigris, and instead sooted. Some details, like skulls and symbols/shields and decorative elements, were painted bronze, just like the doors and statues above. The other metal parts were generally painted leadbelcher/boltgun metal, and quite dark and dirty. In general, these were done fairly quickly, putting a bit more effort into the brass than the grey metal parts. The grey parts do not particularly stand out, so I felt that it was not worth putting more time into.
The brass was painted much like the bronze above, but without the verdigris. Instead I washed them extensively with agrax earthshade and nuln oil after painting them, to make them look sooty and dirty.
The silver parts were basically painted boltgun metal/leadbelcher, washed with nuln oil and drybrushed with chainmail/ironbreaker. I then dirtied them a bit, especially under them, with agrax earthshade and nuln oil.
Examples of finished metal parts below:
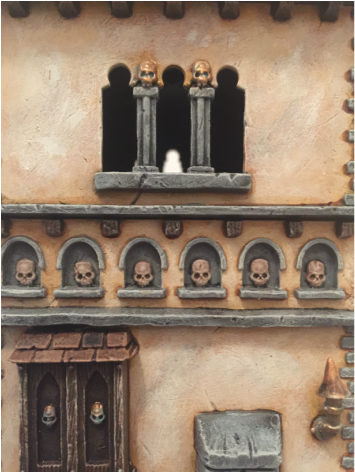
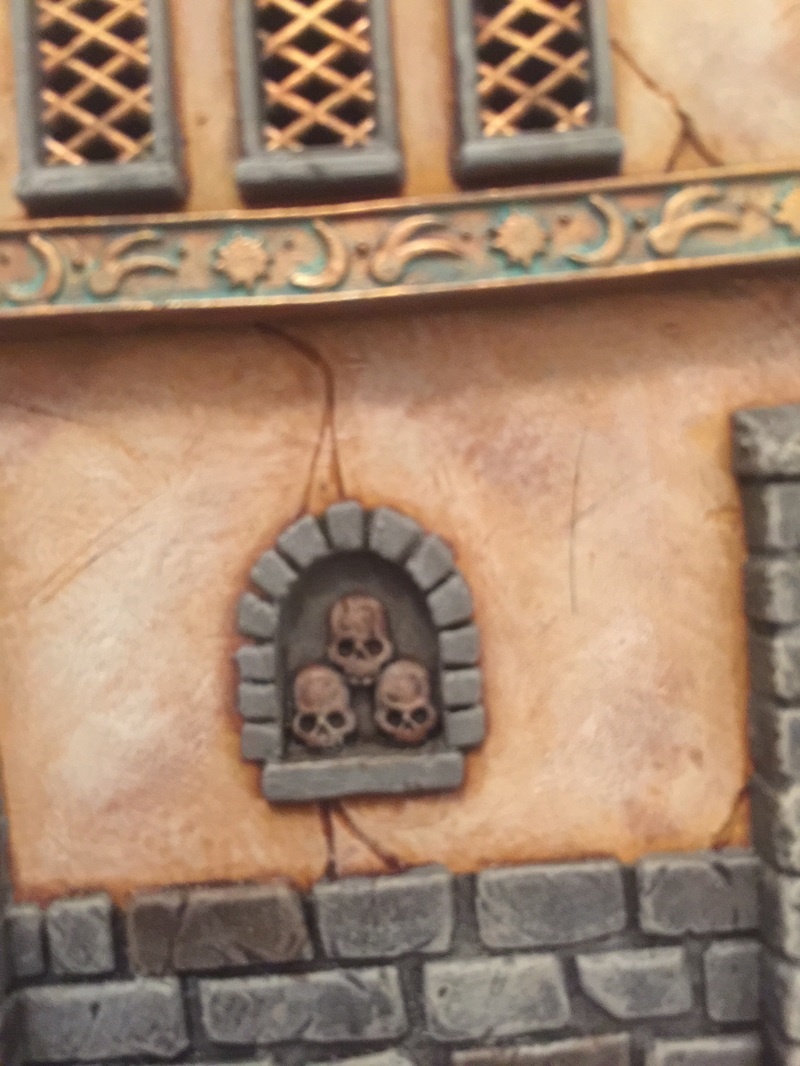
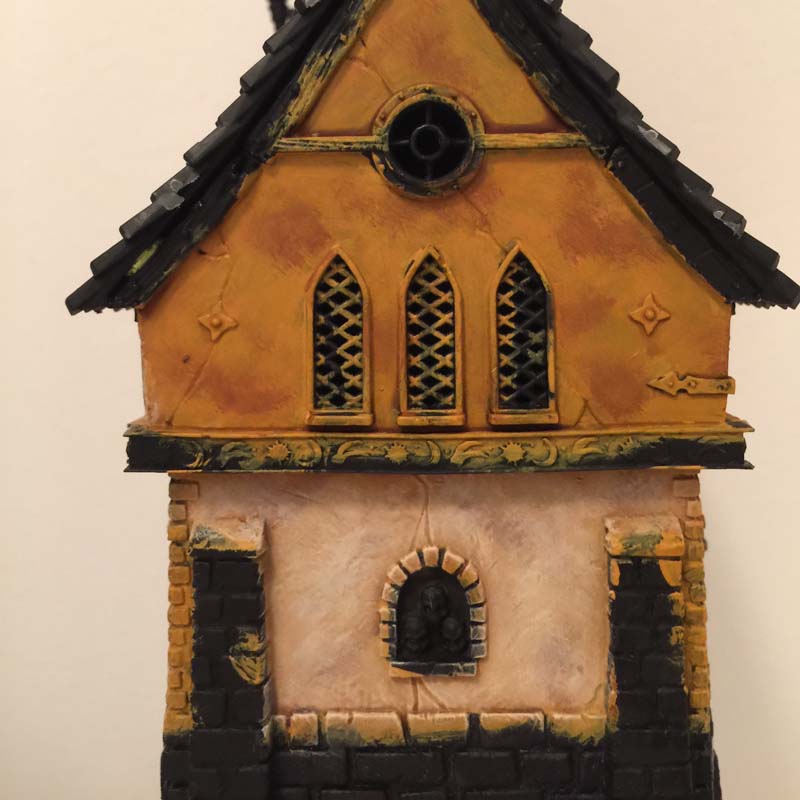
Skulls. There are a lot of skulls detailed on these buildings, as with all GW terrain... If you do not like them, you can in some cases choose to cover them with windows, but there are still quite a few left. I decided that most of these would be bronze skulls. Most of the skulls do look ornamental and too smooth and positioned in a way that suggests that they are made of stone or metal and not real skulls. So, the choice on these skulls was basically – stone or bronze? I thought that bronze went well with the rest of the color scheme and so painted most skulls bronze, in just the same manner as the doors and statues described above.
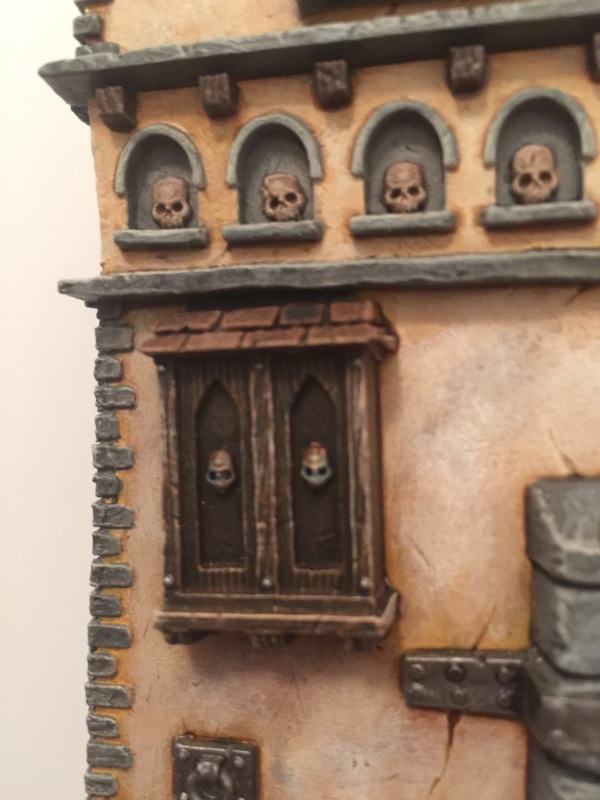
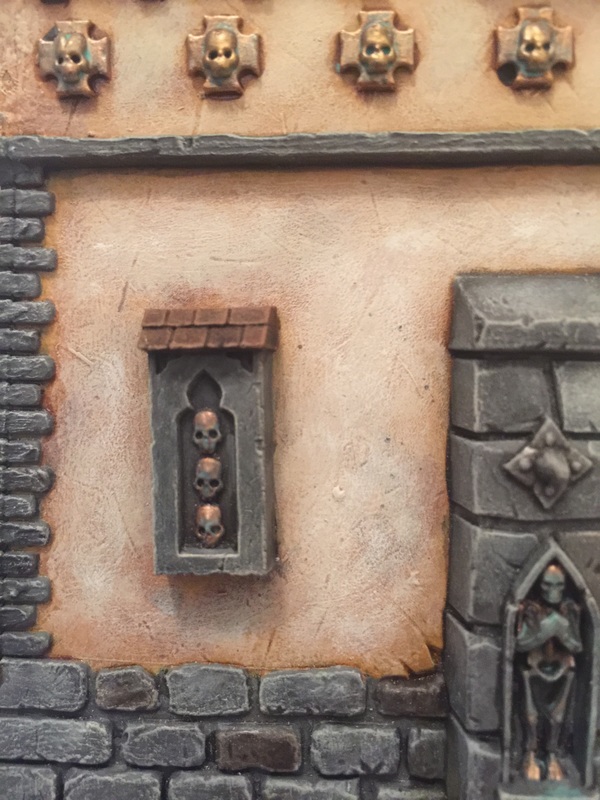
I did paint a few skulls like real skulls. These were the skulls that looked like real skulls, that had cracks or were positioned slightly askew, anything that suggested that they might be real skulls. The most typical ones were in the alcoves of the chapel (see the left and right picture below).
These skulls can be painted in many different ways. I like this way:
Karak Stone base – Wash Agrax – Karak stone/ushabti bone – Ushabti Bone
 Base color - Karak Stone (layer) |  Wash/shade - Agrax Earthshade (shade) |   Drybrush with 50/50 of Karak Stone and Ushabti Bone |  Light Drybrush/highlight - Ushabti Bone |
Examples of finished skulls, bronze and ordinary:
 |  |  |
This wraps up this four part guide on painting the fortified manor. I hope that you found it useful and/or entertaining. If you have any questions or comments, feel free to contact me.
Also, if you want updates, make sure that you like and follow me on facebook and/or Instagram:
Facebook: Jester Painting Studio
Instagram: jesterpainting
Also, if you want updates, make sure that you like and follow me on facebook and/or Instagram:
Facebook: Jester Painting Studio
Instagram: jesterpainting


 RSS Feed
